


Data Export Help
Use Data Export when you need selected SIRAS data outside the program in Excel, CSV, DBF, or another available export format.
Before generating a Student Data export, verify the students currently selected in SIRAS. A Saved List can then control which fields are included.
Contents
1. Before You Export
Data Export is available from Tools → Data Export and from applicable Student List controls.
For Student Data, first decide which students should be in the file:
- Use Search Help when you need to change the student population.
- Use Found Set to understand which records are currently selected.
- Use Student Lists when you want to create and save a reusable set of fields.
Exports are often used for local analysis, reconciliation with an SIS, quarterly point-in-time snapshots, or another locally approved reporting purpose.
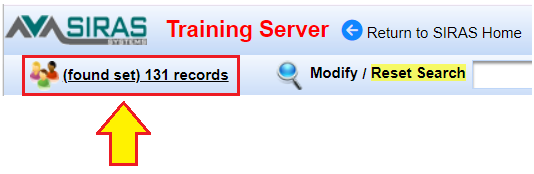
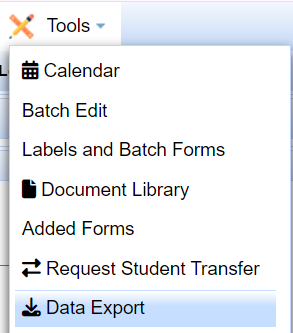

Data Export can be opened from the applicable Tools or Student List workflow.
2. Choose the Data Set
Student Data is the default when you want fields from the student record. Other Data Sets expose fields from different SIRAS areas.

Choose the Data Set first; the available fields change with the selected Data Set.
| Data Set | Use |
|---|---|
| Student Data | Exports the current Found Set of student records. If the Found Set contains Current data, Current fields are exported; if it contains historical archived transactions, the historical records are exported. |
| Service Data | Exports service records. See Service Export. |
| Change Log Data | Information from Student Change Logs. |
| Discipline | Discipline data from the Student Profile. |
| DRDP | DRDP data; use the applicable DRDP preset when appropriate. |
| Mailing / Primary / All Contacts | Exports the applicable contact records. |
| Goals | Goal information. |
| User Data | SIRAS user-account information. |
| Meeting Report | Meeting-report data; when available, the Meeting Reports area may be the more direct route. |
| Service Log / Service Log Minutes | Service Log reporting data. |
| Assessment accommodations | SBAC/CAA or ELPAC accommodation/support data when available. |
3. Choose Fields or Load a Saved List
You can build the export field set directly or load a Saved List.

Choose export fields directly or load a Saved List.
The available fields are shown on the left. The selected export fields are shown on the right. Add, remove, and reorder fields as needed.
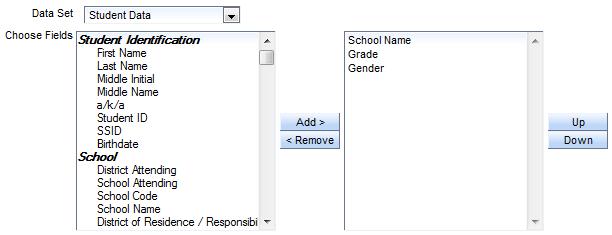
The selected field order becomes the export column order.
4. Reuse a Saved List as an Export
A Saved List can act as a saved export definition because the list already remembers the fields you selected.
- Create and save the list in Student Lists. See Student Lists: View, Customize, Sort & Group.
- Open Tools → Data Export.
- Open My Saved Lists.
- Select the saved list.
- Select Load as Export.
- Verify the loaded fields, filename, and file format.
- Select Start Process – Generate Export.
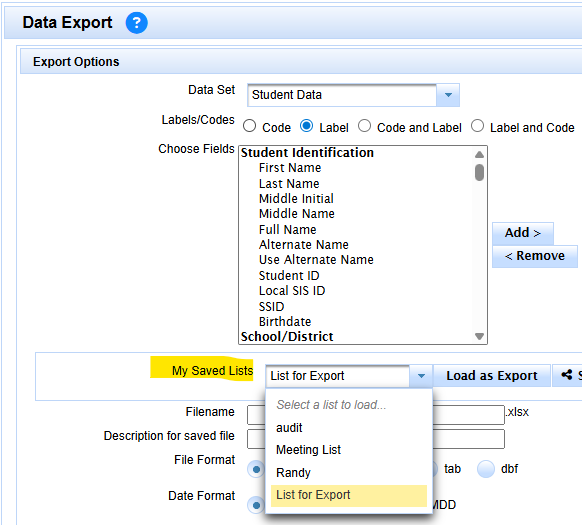
Open Data Export after creating the Saved List.
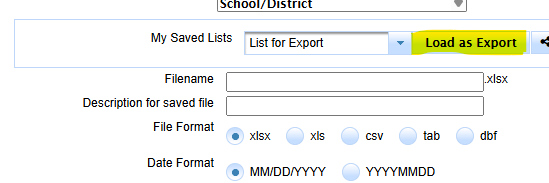
Select the Saved List that contains the fields you want to export.
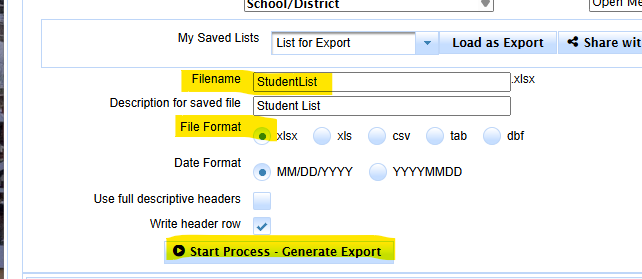
Verify the loaded fields and output options before generating the file.
For saving, linking, and sharing reusable list/query setups, see Saved Lists & Queries: Save, Link, Share & Reuse.
5. File Name, Format & Options
Give the file a meaningful name so its population, purpose, and date can be understood later.
Available formats may include Excel, CSV, and DBF. CSV includes options that can be useful for SIS or other system integrations.

Choose the file format appropriate to the intended use.
- Choose the appropriate Date Format.
- Use full descriptive headers when needed.
- Keep the header row when the receiving file or analyst needs field names.
- Add a description when it will help identify the export later.
6. Generate and Download the Export
Select Start Process – Generate Export. Large files may take additional time to complete.
Completed exports appear in My Finished Exports at the bottom of the Data Export page. Download the finished file from there, and remove old files when they are no longer needed according to local practice.

Completed exports remain available in My Finished Exports.
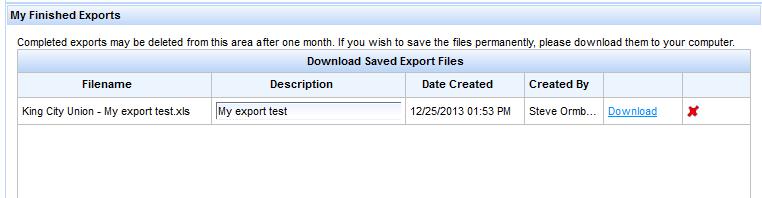
Download the finished export when processing is complete.
7. Export Presets
Export Presets provide predefined Data Set and field combinations for common export purposes such as Student Data, contacts, testing settings, or other configured workflows.
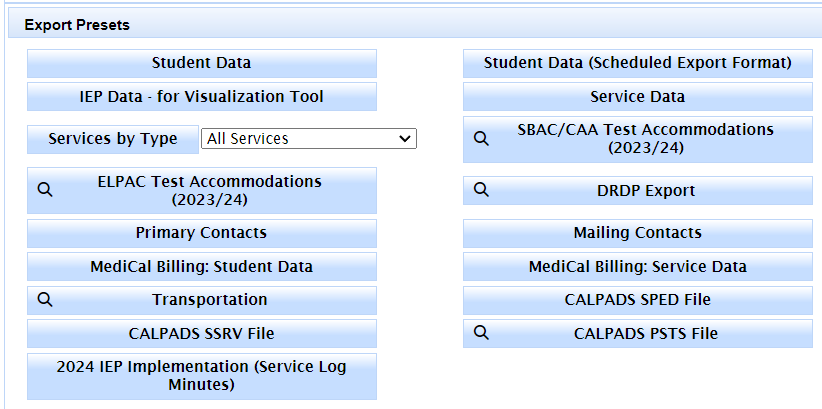
Use an Export Preset when SIRAS already provides the required field set.
An Export Preset is supplied by SIRAS for a known purpose. A Saved List is a field set you create and can reuse as an export.
8. Specialized Export Help
- Service Export
- All Provider Report — provider/assignment snapshot workflow.
- Credential Audit: Census Day Student Lists and Exports
- Special Ed / 504 Data Export — SIS exchange specifications.

