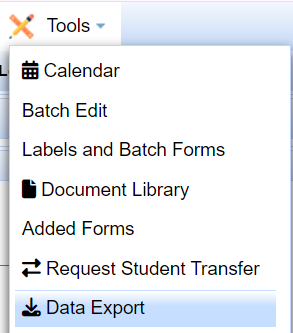
The export page access button is found under Tools and Student Lists.
Saved Lists act like saved exports, save a list, load it as an export.
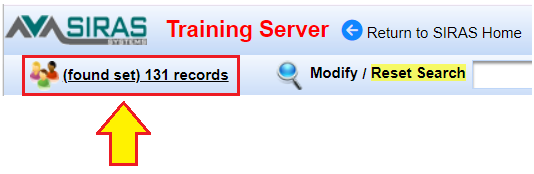
When exporting data, make sure the found set is what you want. You may want to export all records that are active, you may want to export some records.
Whatever records are in your 'found set' will be in the data set you export.
It is common to export data from SIRAS and compare it to lists exported from your SIS system. If your District SIS system is integrated with SIRAS, then your import logs give you this kind of information daily.
Comparing data files from SIRAS and your SIS can be done to cross reference students who have left and may need to be made inactive in SIRAS.

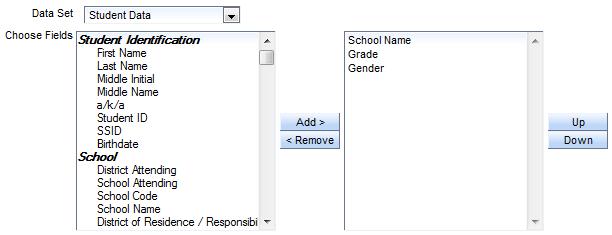
1) Confirm Data Set: Student Data is the default. Student data is what you see on the MIS Summary page and the Student Profile pages.

- Student Data: Will export your current found set of Student records. If your found set is current data, it will export current data. If your found set is historical archived transactions, it will export those archived records.
- Service Data: [click here for more information on Service Data Exports]
- Change Log Data: This is the information found under /Tools/SIRAS Admin/Student Change Logs
- Discipline: This is the information found under /Student Info/Student Profile/Discipline area
- DRDP: We suggest using the Export Preset of 'DRDP Export'. [Click here for DRDP Help]
- Mailing Contacts: This exports contacts labeled as 'mailing'.
- Primary Contacts: This exports contacts labeled as 'primary'.
- All Contacts: This exports all contacts.
- Goals: This exports Goal information.
- User Data: This exports SIRAS user account data.
- Meeting Report: We suggest using the 'export meeting report' button under /reporting/meeting reports after running your meeting query.
- Service Log: Data: [Click here for more information on exporting service log data.]
- Service Log Minutes Report: [Click here for more information on exporting service log minutes report.]
- SBAC/CAA Accommodations: [Click here for more information on exporting accommodations data.]
- ELPAC Accommodations: [Click here for more information on exporting accommodations data.]
You can export various tables such as Discipline, DRDP, Contacts, etc. You will see that when you chose a different Data Set that the field set that you can choose from under the ‘Choose Fields’ column will change to the fields associated with that Data Set (table).
2) Choose Codes or Label in the exported data
![]()
3,4) Choose Fields, My Saved Lists:
Either load a saved list, or build a custom list on the fly.
The column on the left contains all the fields in the data set that are available for downloading. The column on the right contains the fields that have been selected from the left column that will be part of the export. To move a field from the left column to the right column just double click on the desired field, or click on the field and click the ‘Add’ button. To change the order of how the fields will be exported (top to bottom) you can click/highlight the field (on the right) and then click the “Up” and “Down” button to move it’s position in the export order desired.
5) Type the filename for the export
6) Description is optional

7) File Format:
There are three different formats you can choose from: Excel (default), CSV, and DBF. CSV has customizable options useful for exports for SIS needs.
8) Date Format as appropriate
9) Use full descriptive headers, default off
10) Write header row, default on, this one is more useful in saving space at the top of the file
11) [Start Process - Generate Export] button:
This will start the export. Depending on the size of the export it may take a little time. The export will be saved for downloading at the very bottom of the Export Data screen under ‘My Finished Exports.’
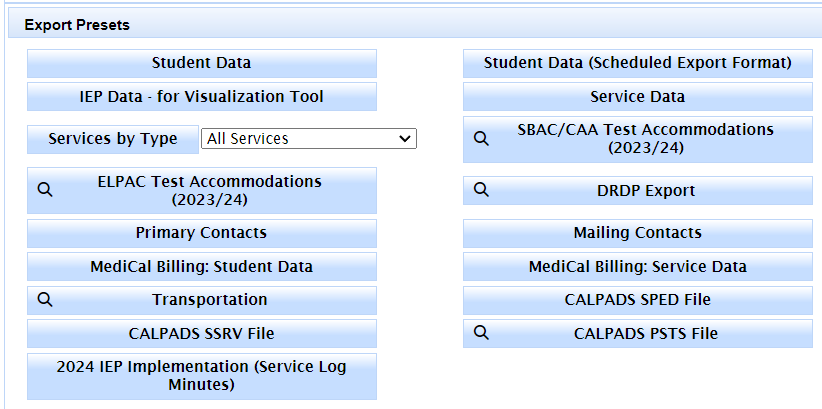
Export Presets:
These are predefined data set and field choices used for student data exports, mailing contacts, TOMS online test settings template, MediCal Billing info.
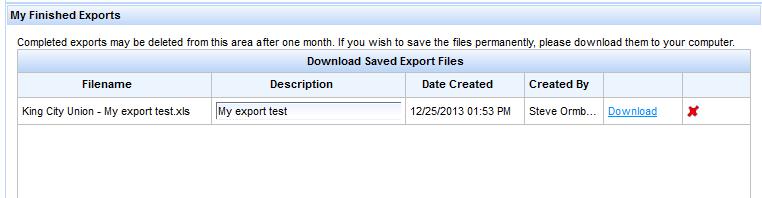
My Finished Exports:
Your exports are accessible at the bottom of the Export Data page. You will see a list of all your current and historic exports. If you plan to no longer use the export, we suggest that you delete them by clicking the red ‘X’ to the right of the column. To download the export, just click the ‘Download’ link.
Note: If your export finishes and you don’t see the link below, click on ‘Refresh’ or refresh your browser window, by clicking F5.