


The Student Lists available in SIRAS under Reporting will list all students in the found set, with a selected set of data, and can be grouped and sorted. The default Management List is initially selected, and can be updated by selecting a Predefined List, or manually customizing the columns.
Predefined Lists
These are sets of fields and potentially coupled with search queries which are useful for viewing student data for particular scenarios.
- Predefined List Help Page
- See here for Services Lists
Edit List
Lists may also be edited so users can modify them to meet their needs. Click on Edit List just to the right of the Predefined Lists to make changes. The screen shot at the top of the next page shows the edit screen for the default Management List.
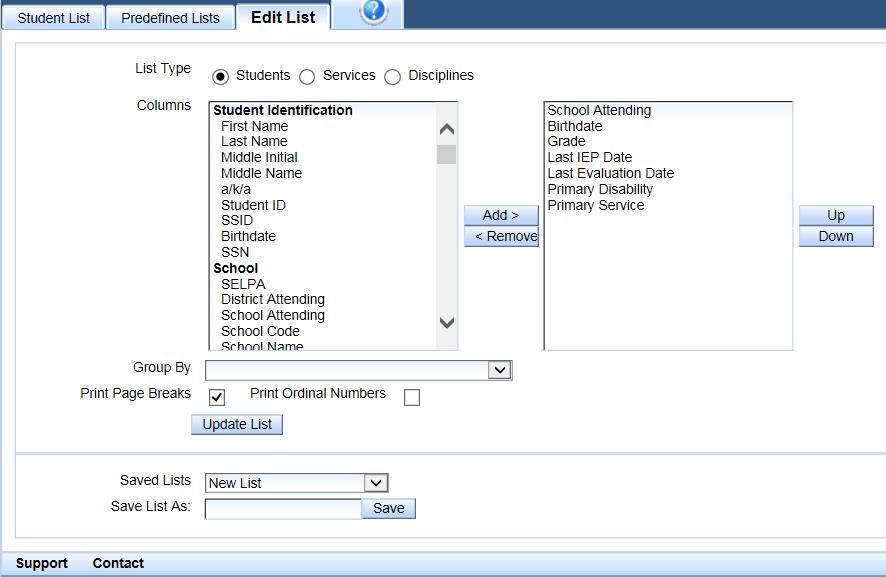
Source (left) and View (right) Columns
The list at the left (to the right of the word Columns) shows the list of all fields that can be used to create a customized list. The list in the box at the right shows the fields that are currently in that list: School Attending, Birthdate, Grade, Last IEP Date, Last Evaluation Date, Primary Disability, and Primary Service. Note that the columns on the report going from left to right are exactly the same order as the list in the box on the right going from top to bottom.
To modify or edit the list, simply click on any field listed on the left and Add it to the list on the right. You can also click on any field in the list in the box on the right and click to move it Up or Down or Remove it from the list.
Below is an example of a list that was modified. The school, Last IEP date and Last Evaluation Date were removed, and the % Time in Gen Ed and case manager name were added. Fields that are added go to the bottom of the list but can be moved up or down. The Primary Service was moved to the top of the list by clicking on it, and then clicking on Up until it got to the top.

Note that the list in the box at the right shows the fields that are currently in that list: Primary Service, Birthdate, Grade, Primary Disability, % Time in Gen. Ed., and Case Manager.
Update List
Once the items have been selected for the new list, you can click on Update List, and the new list will appear below.

Save List
Once the list has been created, it can be saved by typing in a name next to Save List As and clicking on Save. Each user may create and save as many lists as desired.
The next time you want that same list with your current students, you simply open the Edit screen and select the desired list on the menu under Saved Lists and click on Load to bring up the list you saved.
Once you have saved a list, that list can now be used to 'save an export' for later, like running monthly exports.
Verify list of fields
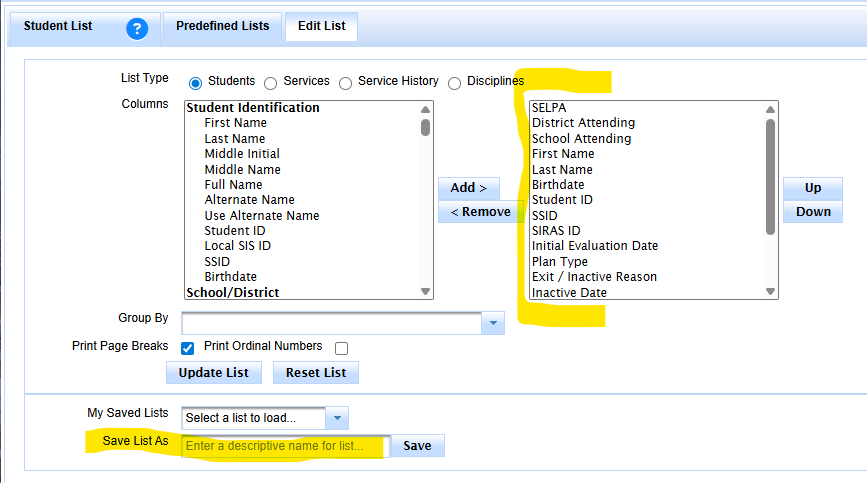
Click in the 'save list as' box to type list name

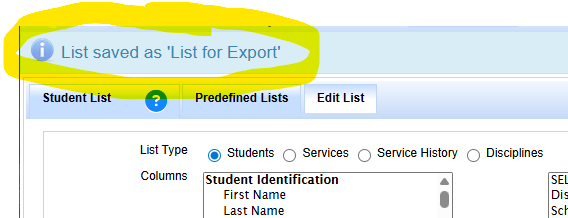
Type list name and click save
Group By
You can group by school or service for different types of counts


